LED Strip Sample Evaluation Checklist: From Identity to Approval
Evaluate an LED strip sample through traceable identity, physical fit, controlled electrical conditions, visual and control checks, evidence and a defined approval result.
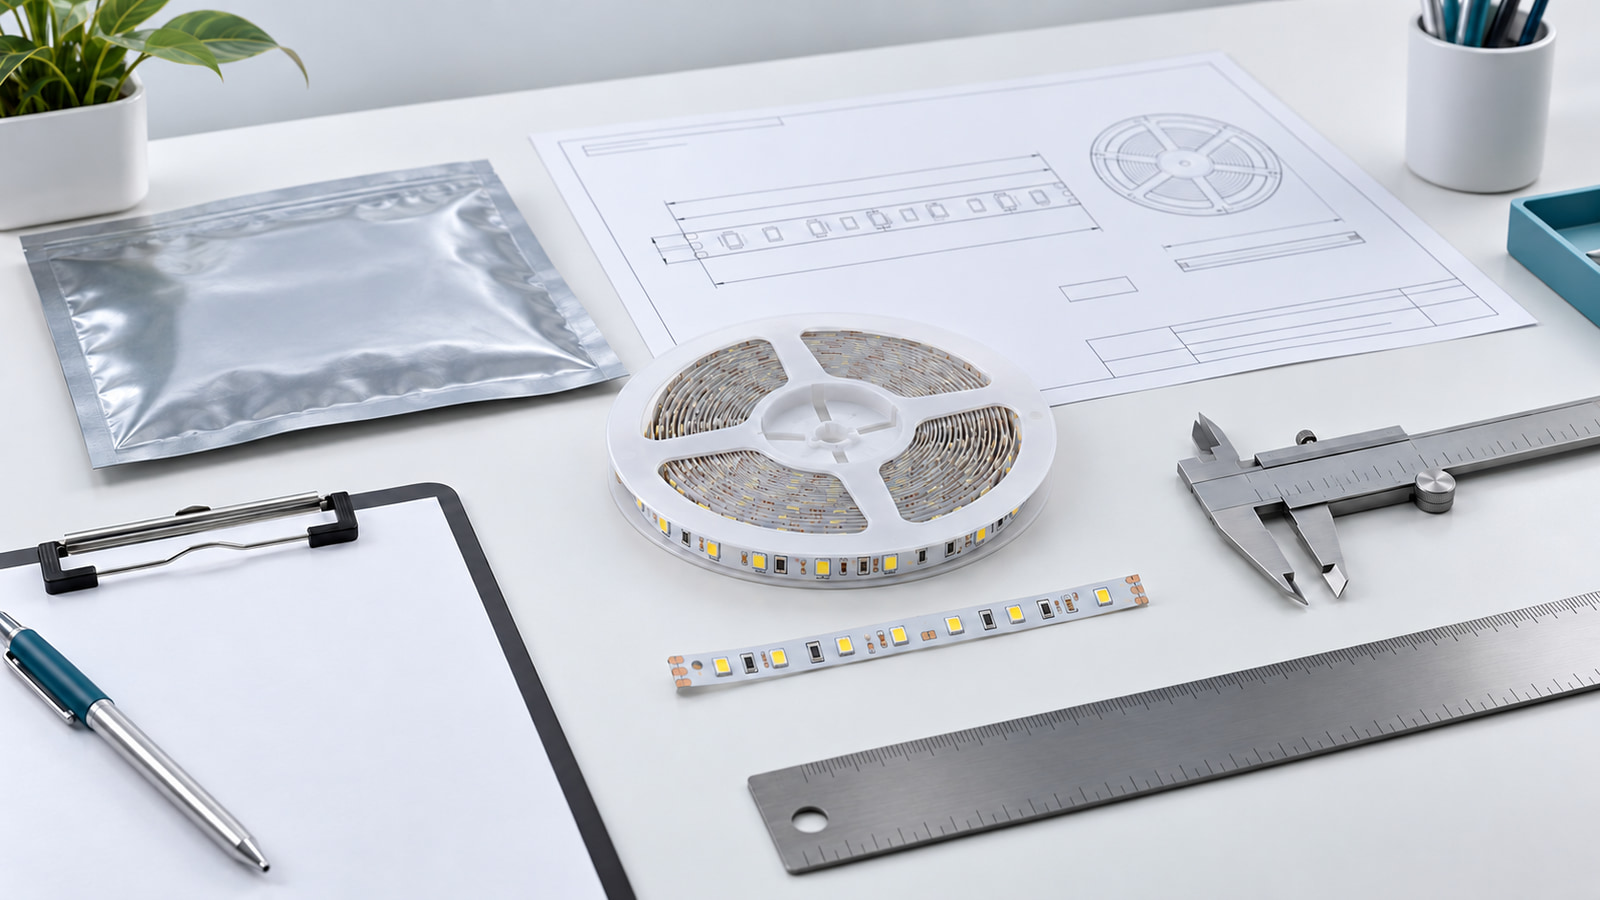
A useful LED strip sample evaluation follows a fixed sequence: identify the exact sample and revision, compare its physical construction with the agreed requirement, record the complete electrical and control setup, review appearance under defined conditions, capture evidence, and issue a clear approval result. Before opening the package, prepare the purchase or sample request, the agreed specification and drawings, the intended installation envelope, the power and control equipment to be used, and one evaluation record that stays with the sample.
This LED strip sample evaluation checklist is for procurement, quality, and product-development teams. It helps buyers compare a sample without turning a visual impression into a technical approval. Review ULANTU’s quality framework for the relationship between requirement, method, acceptance, and record, and use the ordering checkpoints to keep sample decisions separate from a later production order.
Identify the sample and revision
Give the sample a unique identity before testing it. A product name such as “COB strip” or “warm-white sample” is not enough when several widths, voltages, color options, connectors, or revisions are under review.
Record:
- supplier name and exact model or SKU shown on the sample record;
- buyer project or inquiry number;
- sample ID and quantity received;
- selected configuration, including the options relevant to this evaluation;
- supplier datasheet, drawing, or specification revision;
- sample request or purchase-order reference;
- received date and package condition;
- any stated difference between the sample and the proposed production version.
Photograph the sample label, reel, connectors, accessories, and package identification before separating the parts. Keep the original label with the retained sample. If the sample has no usable identifier, create a buyer-side ID and record that the supplier identification is missing. Do not silently assign the identity of a similar product.
The sample approval must state what it covers. It may approve appearance under one setup, mechanical fit in one profile, or a complete agreed configuration. It does not automatically approve future material changes, a different voltage, another connector, revised packaging, certificates, bulk-production consistency, or commercial terms. If the supplier says the production version will differ, list each difference and decide what must be reviewed again.
Use an identity block such as this:
| Identity field | Sample record |
|---|---|
| Buyer project / inquiry | |
| Supplier and exact model / SKU | |
| Sample ID and quantity | |
| Selected configuration | |
| Datasheet / drawing revision | |
| Received date | |
| Stated production differences | |
| Person recording the evaluation |
Check physical fit against the agreed requirement
Check the sample against the order record, drawing, profile, connector, and installation space that actually apply. Do not invent a universal tolerance. Dimensions and acceptance limits should come from the agreed requirement, the exact product documentation, or a buyer-approved reference.
Review the strip body and the complete installed envelope:
- overall width, thickness, and any jacket, coating, or adhesive layer;
- component height and clearance inside the intended profile or cavity;
- cut marks, copper pads, cut length, and usable termination space;
- lead-wire exit, connector orientation, polarity or channel identification, and cable bend clearance;
- fit with the intended profile, diffuser, clips, end caps, joints, and mating parts;
- surface condition, soldering, coating, jacket, adhesive backing, markings, and visible damage;
- accessories received versus the sample request.
Use the same measuring method and reference points for every candidate. Record the tool used and whether the result is an approximate fit check or a controlled measurement. A caliper value without the measurement location can be misleading when a jacket, solder joint, or connector creates the largest envelope.
Do not force the sample into a profile or connector to make it appear compatible. Record resistance, interference, loose retention, inaccessible cut pads, cable compression, or insufficient end clearance with photographs and dimensions. If the installation depends on a specific corner, joint, bend, mounting surface, or cleaning method, include that condition in the physical review.
Package appearance should be recorded separately from product fit. A damaged carton may require a logistics action even when the sample itself remains suitable for technical evaluation. Conversely, attractive packaging does not compensate for a wrong model, missing accessory, or dimensional mismatch.
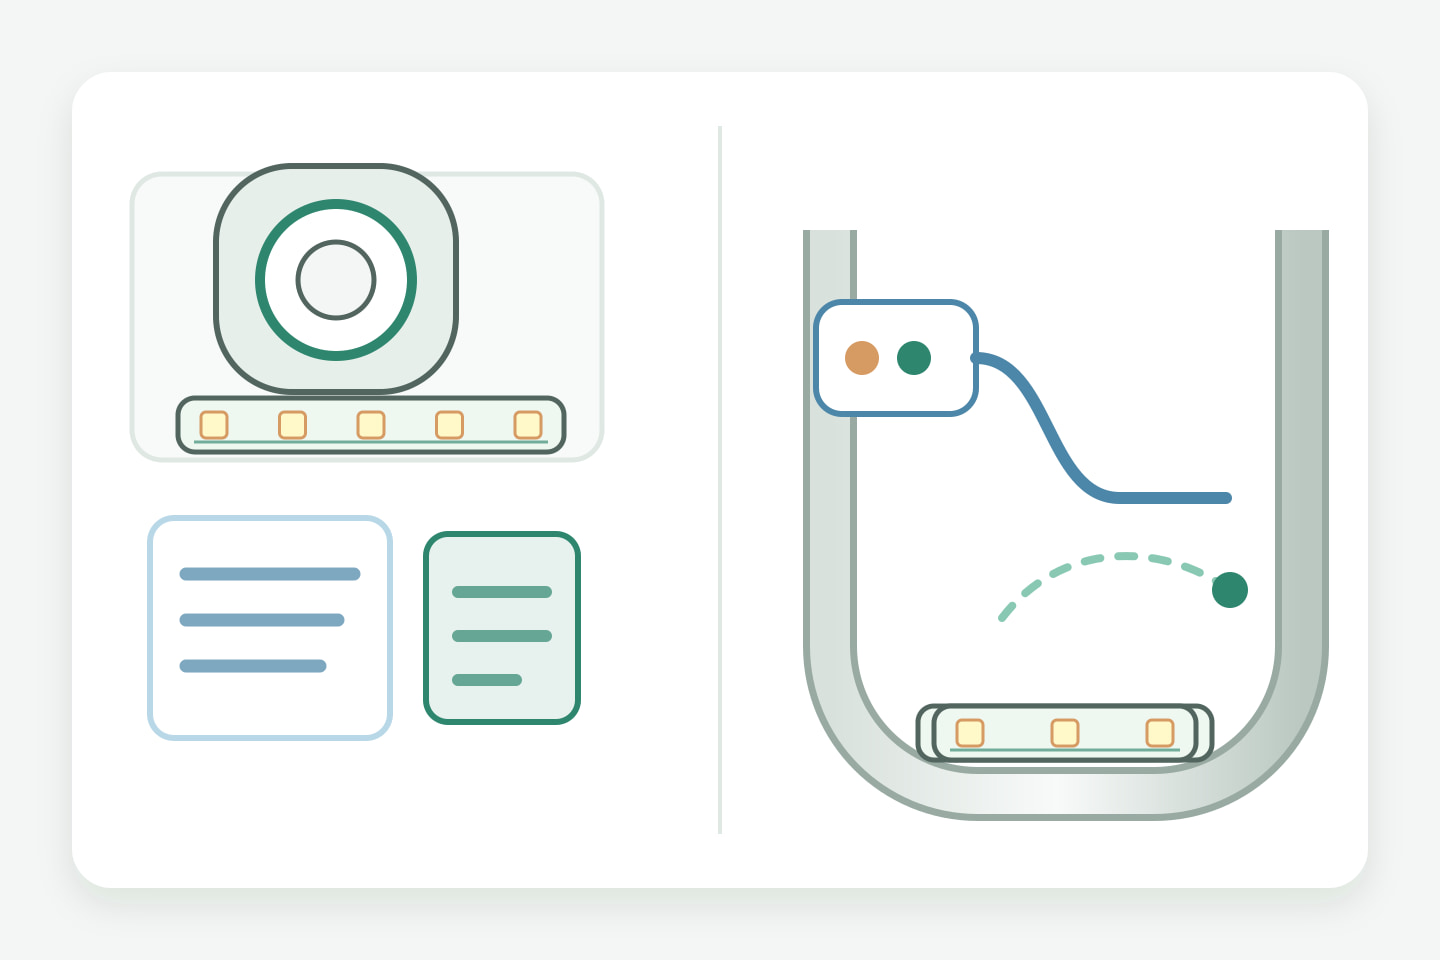
Record the electrical setup before comparing results
Electrical observations are meaningful only when the setup is traceable. Record the sample’s stated rated voltage, the exact power supply and controller used, sample length, feed arrangement, connections, operating mode, test duration, and the ambient and viewing conditions relevant to the result.
At minimum, capture:
| Setup item | Record before testing |
|---|---|
| Sample ID and tested length | |
| Stated rated voltage | |
| Power supply model and relevant setting | |
| Controller / dimmer and operating mode | |
| Feed point and connection arrangement | |
| Mounting surface, profile, or free-air condition | |
| Ambient and viewing condition | |
| Instrument ID and calibration status, if measurements are used | |
| Start time and observation duration |
Compare samples under the same relevant conditions when the purpose is comparison. If the setup changes, start a new record. Do not compare one sample in a profile after stabilization with another sample loosely coiled immediately after energizing and describe the difference as product performance.
Treat an observation, a measurement, and a supplier declaration as different evidence:
| Evidence type | Example | How to record it |
|---|---|---|
| Observation | A visible dark section appears near one connection | Photograph the location and record setup, distance, time, and sample ID |
| Measurement | A defined quantity is measured with an identified instrument | Record method, instrument, units, conditions, result, and applicable uncertainty or limitation |
| Supplier declaration | A datasheet states a rating or nominal value | Record the document title, model scope, revision, and page or field |
NIST calibration policy explains that measurement results can be affected by the instrument, method, operator, and physical environment, and that calibration or test results apply to the specific item and time unless stated otherwise. For a buyer checklist, the practical consequence is simple: record enough setup and instrument information to understand and repeat the comparison. Do not report an instrument reading as an independent certification or as proof of future production performance.
Use only equipment and procedures suitable for the exact sample. This checklist does not authorize work on exposed mains conductors or energized equipment. Where electrical hazards or local workplace rules apply, use appropriately qualified personnel and approved procedures. OSHA’s electrical safety guidance distinguishes qualified persons and requires proper verification practices for hazardous electrical work; other markets may impose different or additional requirements.
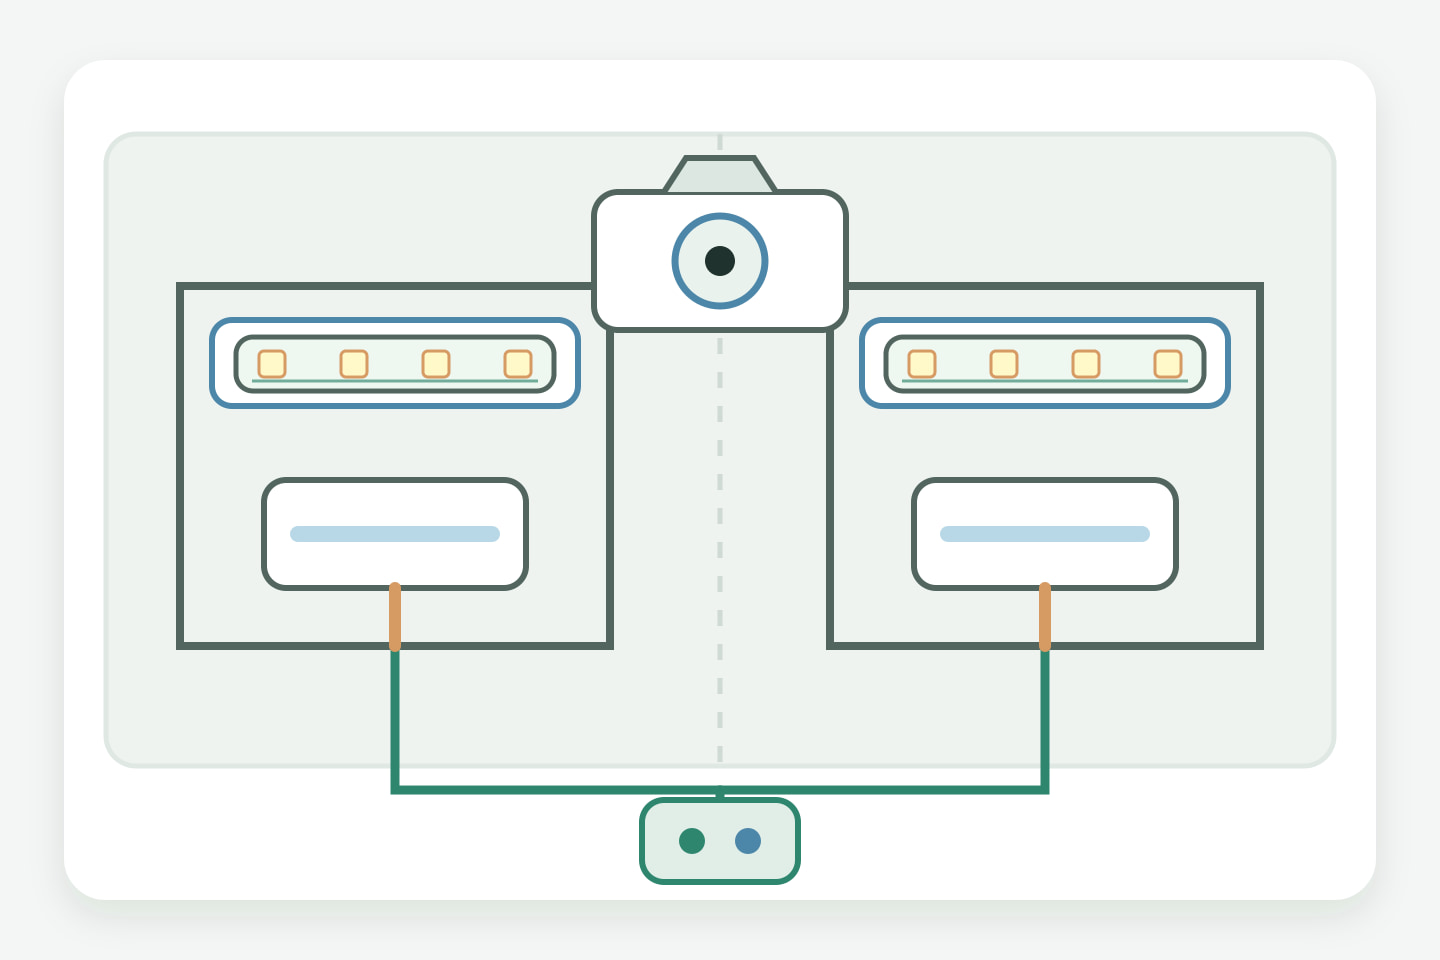
Review appearance and control behavior
Define the viewing condition before deciding whether the sample looks acceptable. Record whether the sample is viewed directly, through the intended diffuser, in a profile, against a surface, or in a representative assembly. Note the viewing distance, angle, surrounding light, operating mode, and comparison reference.
Review only the characteristics relevant to the project, such as:
- visible color consistency along the tested length and between compared samples;
- obvious dark areas, bright spots, flicker, or intermittent sections;
- diffuser or profile appearance in the intended viewing range;
- startup, switching, dimming, white-light adjustment, or color-control response required by the brief;
- connector, cable, or termination behavior during normal handling;
- unusual sound, odor, discoloration, or visible damage that requires testing to stop and be escalated.
Do not convert a phone photograph into a color measurement. Camera processing, exposure, display settings, and ambient light can change the recorded appearance. Photographs are useful for location and comparison evidence when their limitations are stated.
If temperature, light output, electrical input, color, or another quantity is measured, define the method and conditions before testing. Record the instrument, sample state, measurement point, stabilization or observation period, and the acceptance source. Do not invent a target or tolerance after seeing the result. If the buyer does not have a validated method, record the observation and ask the supplier for the applicable data or test evidence rather than manufacturing a number.
For controls, test only the functions required by the sample brief. Record the exact controller, interface, mode, wiring, and sequence. A successful response with one controller does not establish compatibility with every driver, dimmer, protocol, or project system.
Use a repeatable sample evaluation table
Copy the table below and add one row for each agreed requirement. The empty cells are working fields for the buyer’s own record; they are not missing public specifications.
| Check item | Agreed requirement or reference | Observation / measurement result | Evidence reference | Decision | Supplier action or clarification |
|---|---|---|---|---|---|
| Sample identity and revision | |||||
| Quantity and package condition | |||||
| Strip width and installed envelope | |||||
| Cut marks, pads, and termination space | |||||
| Connector, cable, polarity, or channel arrangement | |||||
| Profile, diffuser, clip, or cavity fit | |||||
| Surface, coating, jacket, adhesive, and workmanship | |||||
| Electrical setup and tested length | |||||
| Light appearance under defined viewing conditions | |||||
| Required control behavior | |||||
| Accessories, labels, packaging, and requested documents | |||||
| Safety-related anomaly or test stop |
Use evidence references that another reviewer can find, such as Photo A17-S1-04, Drawing Rev C, dimension 12, or Measurement record MR-07. Keep original photographs and results linked to the sample ID. A comment such as “looks wrong” is difficult for a supplier to investigate; a marked photograph, setup record, and precise deviation can support a useful response.
The quality page explains why the requirement, method, acceptance point, and record should stay connected. Your evaluation table should follow the same logic without claiming that every listed check applies to every LED strip.
Define the approval result and next action
End the evaluation with one controlled result. Avoid an unqualified message such as “sample approved” when some sections were not reviewed.
| Result | Use when | Required record |
|---|---|---|
| Accepted | Every item in the agreed sample scope meets its acceptance source | Approved sample ID, configuration, evidence, specification revision, approval scope, approver, and date |
| Accepted with conditions | The sample can proceed only with clearly bounded actions that do not hide an unresolved critical requirement | Accepted items, exact conditions, owner, due point, evidence required, and whether another physical sample is needed |
| Revise and resubmit | One or more required items fail, conflict, or cannot be evaluated from the supplied information | Deviation by item, evidence, required correction or missing information, new revision, and resubmission scope |
Record excluded areas as “not evaluated” rather than treating silence as approval. State whether labels, packaging, documents, accessories, and production-version differences are included. If a change affects the approved configuration, decide whether it requires a new sample, a partial fit or function check, a document review, or another agreed action.
Send feedback in a format the supplier can answer line by line:
- identify the sample and approved reference;
- name the requirement and the observed deviation;
- attach the evidence and setup record;
- state the requested correction or information;
- identify what must be resubmitted;
- issue a new record revision when the response changes the sample scope.
When requesting another sample, keep the evaluation decision separate from the commercial order. The how-to-order guide covers the later checkpoints for configuration, quantity, destination, terms, and release.
To start with an identifiable sample and a reviewable scope, Request a Reviewable Sample. Provide the model or product family, intended use, target specification, sample quantity, and destination. A sample request begins a scope review; it does not confirm stock, price, lead time, test outcome, certification, production consistency, or a future order.
Bring the comparison into a project brief.
Share the documented requirements and unresolved questions. An inquiry begins review; it does not confirm engineering approval, compatibility, stock, price, lead time, compliance or an order.
Prepare a project brief