Automotive Ambient Lighting Kit Sourcing: Voltage, Zones, Controls and Mounting
A practical sourcing brief for automotive accessory distributors and installers: define the vehicle and lighting zones, select a matching power and control configuration, review mounting and kit contents, then send the details needed for an option review.
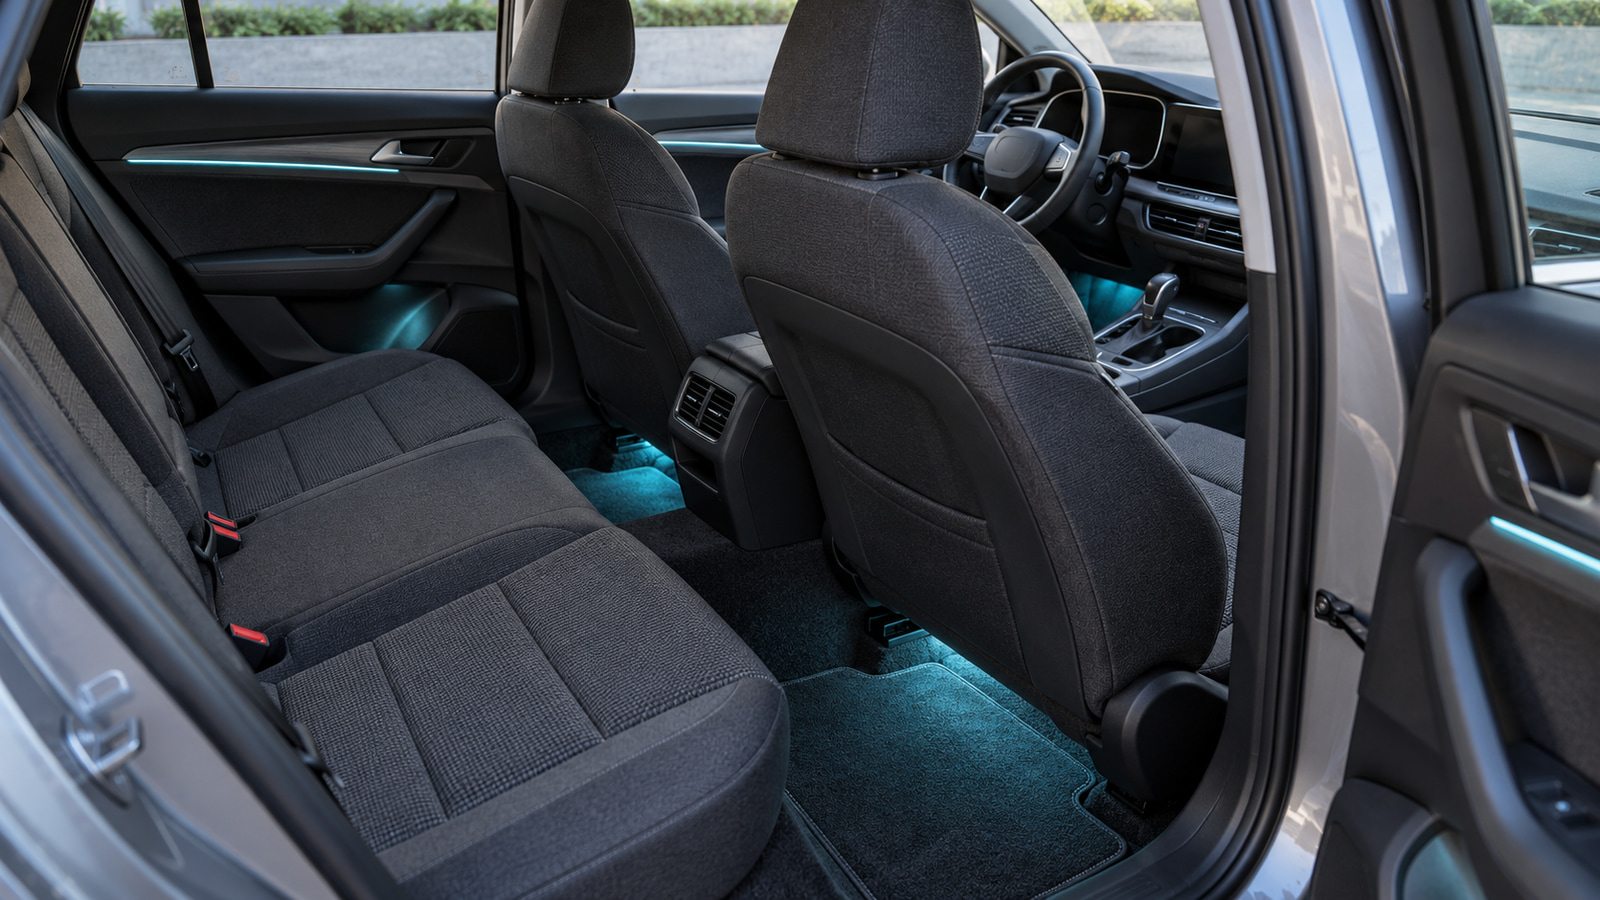
Start with the exact vehicle and the areas you want to light, then specify the available power connection, number of lighting zones, preferred control method, and installation route. Compare kits only after checking the selected option's input, included components, and physical fit. A kit listed for car interiors is not a promise of compatibility with every vehicle. This automotive ambient lighting kit sourcing checklist turns those inputs into a quotation-ready brief.
Start with the vehicle and the lighting task
The words “car ambient lighting” can describe very different installations. Footwell bars sit inside the cabin, underglow bars face road exposure, and a trunk strip follows another mounting and power route. Define the task before comparing colors or control features.
Record the vehicle and installation location
Give the supplier and installer enough context to identify an appropriate option without assuming universal fit:
| Input | What to provide | Why it changes the selection |
|---|---|---|
| Vehicle | Make, model, year, body style, and any relevant interior trim information | Space, connection points, and cable routes can differ by vehicle and trim |
| Destination market | Country or region of use | The buyer and installer must check local requirements and vehicle-manufacturer instructions |
| Lighting location | Interior footwell, door or trim accent, trunk, or exterior underbody | Each location creates different exposure, mounting, and service conditions |
| Installation party | Vehicle accessory installer, workshop, distributor, or end-user program | Determines what drawings, connectors, and installation information are needed |
| Project objective | Decorative color, low-level orientation, display vehicle, or another defined use | Prevents a decorative kit from being evaluated as task lighting |
Passenger and commercial vehicles can use different electrical architectures, so the exact vehicle—not the word “automotive”—must govern the installation review. Bosch’s overview of vehicle control units illustrates that passenger-car and commercial-vehicle electrical systems can differ; it does not establish compatibility for a ULANTU kit. See the Bosch vehicle control unit overview for that general system boundary.
Use the automotive ambient lighting product range to identify a relevant product family only after separating interior, trunk, and exterior tasks.
Map zones before choosing a kit
A zone is an area you intend to light. It is not automatically an independently controlled channel. Count the physical areas, decide whether they should behave together, and trace the likely cable direction before selecting a kit.
Count independently controlled areas
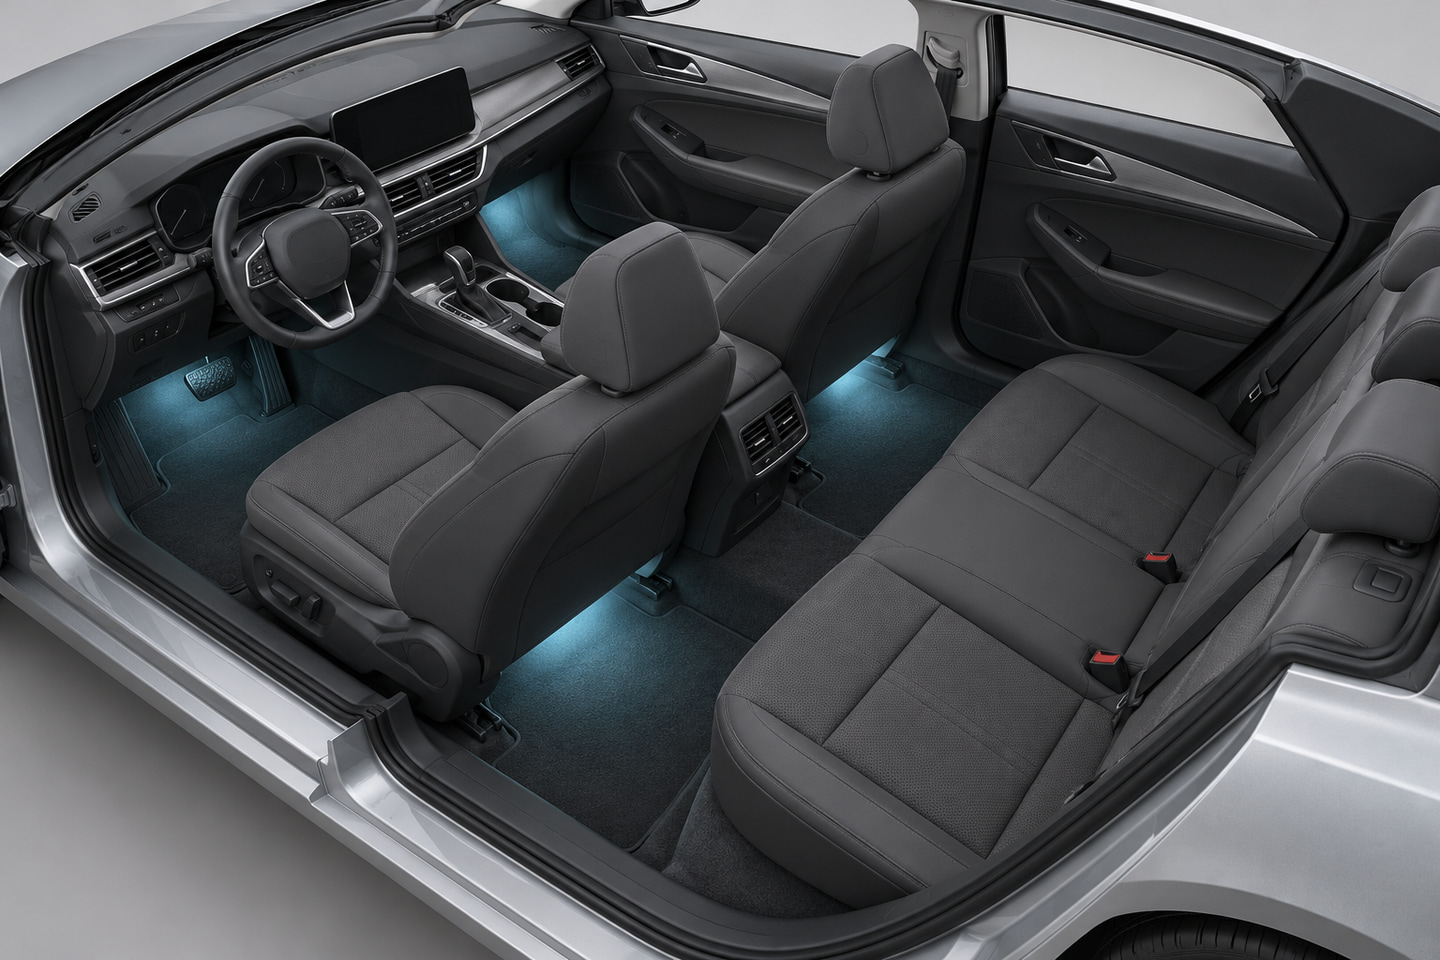
For example, a buyer may describe front-left, front-right, rear-left, and rear-right footwells as four zones. That is a planning example, not evidence that a four-light kit controls each area separately. If the four areas must show different colors or switch independently, state that requirement and ask for model-specific confirmation.
Copy and complete this zone map:
| Zone | Mounting surface | Approximate run | Desired effect | Controller position | Service access |
|---|---|---|---|---|---|
| Front left | |||||
| Front right | |||||
| Rear left | |||||
| Rear right | |||||
| Other |
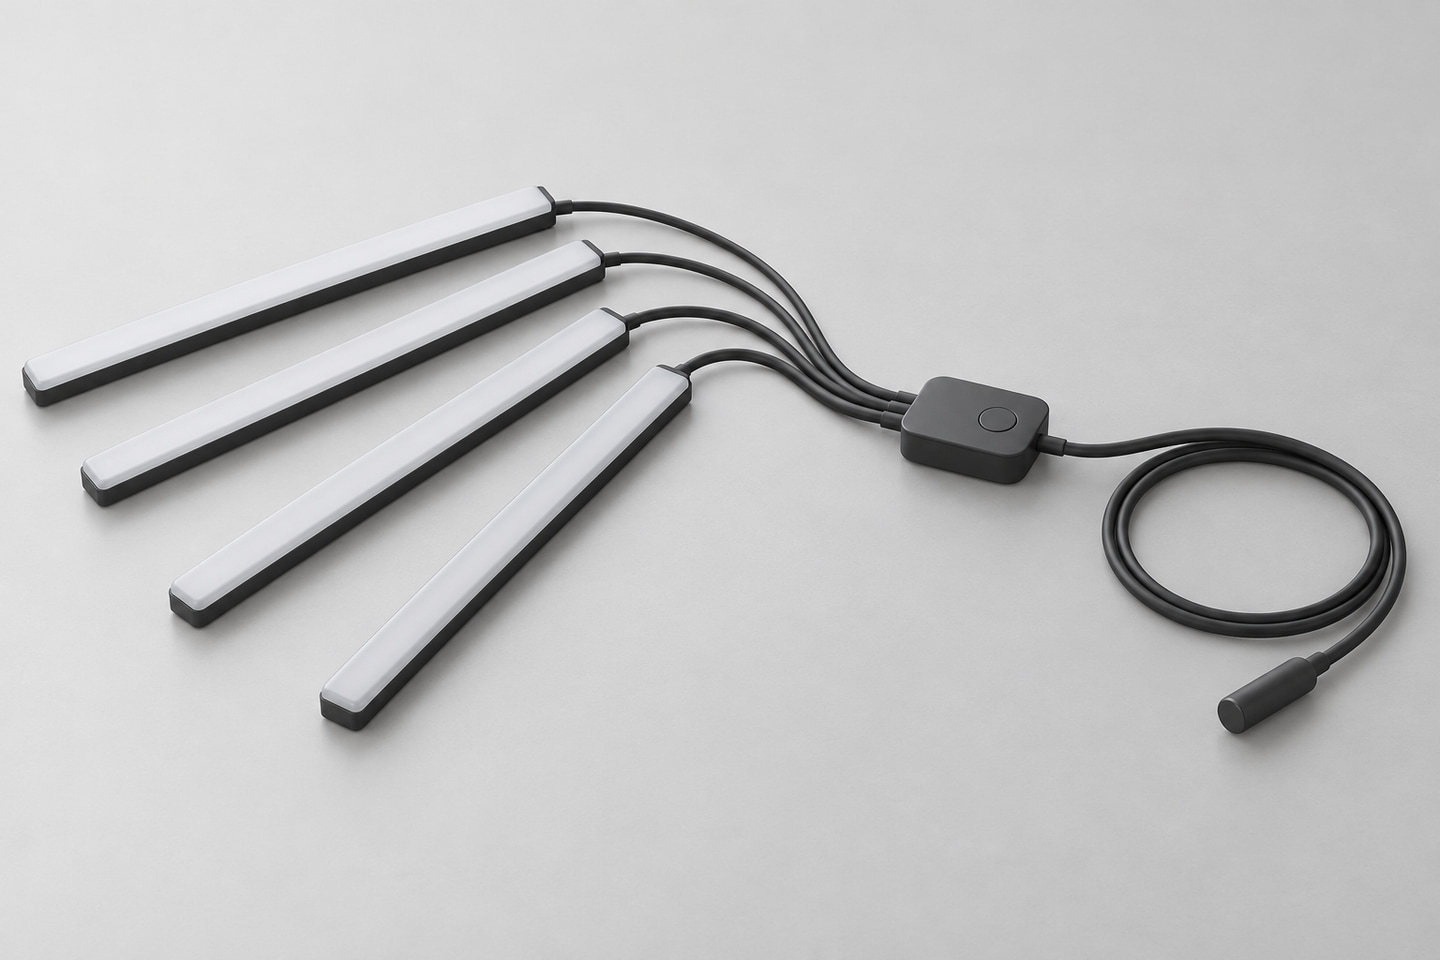
ULT-487FB94C is described as a four-light RGB footwell kit, with 36-, 48-, and 72-LED variants and several input/control combinations. Its “four-zone” format should be read as a four-light layout, not a promise of four independently addressable channels. Review the exact four-zone car footwell kit options and state the behavior you require.
When reviewing the completed map, check:
- whether one controller location can serve every planned light position;
- whether cables can avoid seat rails, pedals, hinges, sharp edges, and moving trim;
- whether each light and connection can be inspected or removed later;
- whether the selected layout keeps visible glare out of the driver’s normal view; and
- whether the installer accepts the proposed mounting surfaces and routing.
Match power input and control to one exact option
Do not request “USB or 12V, app or remote” as interchangeable features. Those labels identify different configurations. A useful request names the product ID and the exact variant, then asks the supplier to confirm what that option includes.
Keep USB and vehicle-socket versions separate
ULT-487FB94C provides a clear example. Variant ULT-487FB94C-V0001 is listed as a USB, 36-LED, remote-controlled configuration. ULT-487FB94C-V0004 is listed as a cigarette-lighter-plug, 36-LED, remote-controlled configuration. The same LED count and control method do not make their power inputs interchangeable.
| Product ID | Selected variant | Stated input | Control interface | Included scope to confirm | Vehicle connection still to resolve |
|---|---|---|---|---|---|
| ULT-487FB94C | V0001 | USB | Remote | Four-light kit and the components listed for V0001 | Available USB supply, cable route, and installer acceptance |
| ULT-487FB94C | V0004 | 12V vehicle socket plug | Remote | Four-light kit and the components listed for V0004 | Socket position, cable route, and installer acceptance |
| Buyer’s option |
Other products have their own option logic. ULT-A095CA76, for example, has 48- and 72-LED interior configurations whose input and control method vary by SKU. Never transfer the input, remote, app, cable, or mounting assumptions from one product ID to another.
For broader low-voltage system planning, use the 12V versus 24V LED strip system guide. For this vehicle request, keep the decision narrower: identify the exact listed input and let a qualified installer confirm the vehicle-side connection. Do not invent a direct-wiring method, fuse value, load limit, or cross-voltage substitution from a product name alone.
Before approving a control choice, ask what “remote,” “app,” or “remote + app” means for the selected variant, which operating device is included, and whether the required phone/platform information is documented. A control label is not evidence of vehicle compatibility or independent-zone behavior.
Check kit contents, cable routes and mounting conditions
A sourcing brief should separate supplied product components from vehicle-specific installation materials. This avoids discovering at installation that the selected kit, cable path, or mounting method was assumed rather than confirmed.
Separate included items from installation supplies
Use three lists for the exact SKU:
| Confirmed as included for selected SKU | Ask the supplier to verify | Installer or buyer to supply if required |
|---|---|---|
| Listed light bars or strips | Controller body and exact control device | Vehicle-specific fixing hardware |
| Listed power connector or adapter | Cable lengths and connector types | Approved cable protection and routing materials |
| Listed remote, only when the option says so | Mounting accessories shown for that SKU | Trim-removal or workshop tools unless listed |
| Other documented contents | Instructions and model-specific documents | Vehicle-side electrical work and protection |
Do not infer contents across products. The ULT-7DC53305 trunk-light product lists a trim tool, but that does not mean every automotive kit includes one. Likewise, vehicle underglow kit formats are a separate exterior sourcing task. ULT-C0E3C247 uses four underbody light sections with length-set and control choices; it should not be treated as an alternative footwell component without a new installation review.
For a pre-order sample or representative kit, perform a dry-placement review before permanent installation:
- Place each light at its intended location without fixing it permanently.
- Place the controller and power connection where they remain accessible.
- Trace every cable past trim, corners, seats, hinges, pedals, and moving parts.
- Check that the light source is shielded from normal driver and passenger sightlines.
- Confirm that surfaces can be prepared as required by the documented mounting method.
- Confirm how each part can be removed for inspection or replacement.
- Have the installer approve the vehicle-side supply and installation plan.
This review tests physical planning for the representative vehicle and SKU. It is not a universal compatibility test for other vehicles, variants, or installation conditions.
Send a quotation-ready kit brief
A useful automotive ambient kit wholesale inquiry identifies one or more exact candidates and makes acceptable alternatives explicit. It does not ask the supplier to guess the vehicle, desired zones, or power route.
Request matching documents for the selected option
Copy this RFQ template and replace each prompt with your project information:
| RFQ field | Buyer input |
|---|---|
| Vehicle make, model, year, and body style | |
| Destination country or region | |
| Interior, trunk, or exterior use | |
| Lighting zones and quantity per vehicle | |
| Candidate product ID | |
| Exact variant/SKU and option label | |
| Required input connection | |
| Required control method and zone behavior | |
| Length, LED count, or color option | |
| Mounting and cable-route constraints | |
| Photos, sketches, or dimensions available | |
| Order quantity and sample quantity | |
| Packaging or label requirements | |
| Required model-specific documents | |
| Acceptable substitutions and non-negotiable specifications |
Attach or describe the zone map, the available power point, and any restricted routing areas. If an alternative is acceptable, say exactly which fields may change. If input type, control method, physical layout, or a specific interface cannot change, mark those items as fixed.
Current availability, price, lead time, packaging, and document scope must be confirmed for the selected configuration and quotation. Submit the product ID, exact SKU, vehicle and use location, zones, power input, control requirement, quantity, destination, and document needs through Request a Kit and Option Review.
Bring the comparison into a project brief.
Share the documented requirements and unresolved questions. An inquiry begins review; it does not confirm engineering approval, compatibility, stock, price, lead time, compliance or an order.
Prepare a project brief